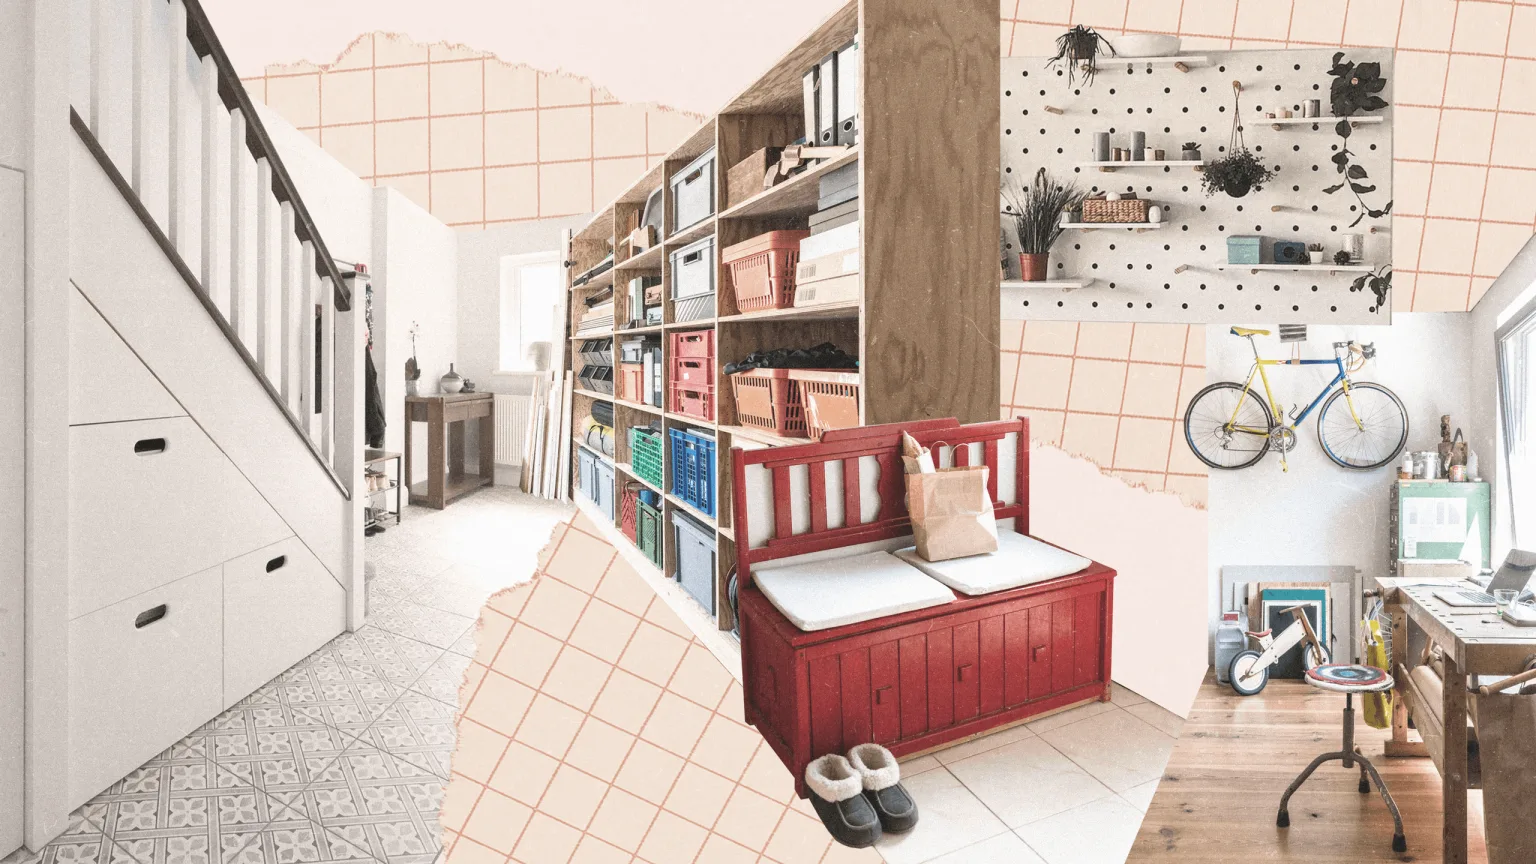
Feeling overwhelmed by the sheer volume of stuff in your living space? You’re not alone. Clutter isn’t just an aesthetic problem; it can be a significant source of stress, anxiety, and lost productivity. Tackling it head-on can feel daunting, but with the right approach, you can transform your home into a peaceful, functional sanctuary. This isn't about ruthless minimalism unless that's your goal, but about creating a space that serves you, rather than the other way around.
We've developed the SPARK framework to help you systematically declutter your living space effectively. SPARK stands for Sort, Purge, Assign, Relocate, Keep. By breaking down the process into these manageable steps, you can tackle clutter room by room, or even category by category, without feeling like you're drowning in possessions. Let’s dive into how you can reclaim your space and your peace of mind.
Understanding the SPARK Decluttering Framework
The SPARK framework is designed to be intuitive and comprehensive, guiding you through the essential stages of effective decluttering. It emphasizes not just getting rid of things, but also making conscious decisions about what remains and where it belongs. This systematic approach ensures that you don’t just shuffle clutter around, but genuinely reduce it and establish systems to maintain order long-term. Each step builds upon the last, creating a logical flow that makes the often-overwhelming task of decluttering feel achievable.
It’s crucial to approach this process with the right mindset. Be patient with yourself, celebrate small victories, and understand that decluttering is an ongoing practice, not a one-time event. The goal is to create a living environment that supports your lifestyle, reduces stress, and allows you to focus on what truly matters. The SPARK framework provides the structure, but your commitment and consistency will bring about the most profound changes.
The Pillars of SPARK
- Sort: Gather all items within a designated area or category.
- Purge: Make decisions about what to keep, donate, sell, or discard.
- Assign: Give every item a designated home.
- Relocate: Move items to their assigned homes.
- Keep: Maintain the organized space through regular upkeep.
Step 1: Sort Your Space into Categories
Before you can effectively declutter, you need to understand what you have. The 'Sort' phase of the SPARK framework involves gathering similar items together. Instead of tackling an entire room randomly, focus on one category at a time. This could be clothing, books, papers, kitchen gadgets, or decorative items. Choose a category that feels manageable to start with, perhaps one that causes you the most frustration. Bring all items belonging to that category from all over your house into one central location.
For example, if you're tackling 'books', gather every book from bookshelves, nightstands, closets, and storage boxes. If it’s 'pens', find every writing instrument lurking in drawers, bags, and desk organizers. This consolidation is eye-opening. You'll see the sheer volume of what you own, identify duplicates, and begin to recognize patterns in your consumption and storage habits. This step is foundational; without a clear inventory, your subsequent decisions will be less informed, and you risk decluttering inefficiently.
- Choose a single category to focus on.
- Designate a space (like a cleared floor area or large table) to bring all items of this category.
- Systematically go through each room, closet, drawer, and bin to find every item belonging to your chosen category.
- Place all gathered items into the designated central area.
- Resist the urge to sort or purge at this stage; simply gather.
Step 2: Purge Ruthlessly (But Mindfully)
Once you have your category consolidated, the 'Purge' step is where the real magic happens. This is the decision-making phase. For each item, ask yourself critical questions. Does it serve a purpose? Do I use it regularly? Does it bring me joy? Is it broken or outdated? Have I used it in the last year? If the answer to most of these is 'no', it’s likely time to let it go. Create distinct piles or boxes for items destined for donation, selling, recycling, or trash.
Be honest with yourself. Keeping items out of guilt, obligation, or a vague sense of 'what if' only contributes to future clutter. If an item is broken, fix it within a week or discard it. If you haven't used it in over a year (and it's not a seasonal item or deeply sentimental), it's probably safe to let go. For items you intend to sell, set a realistic timeframe. If they aren't sold within a month, consider donating them to clear the space faster. This phase requires tough but necessary decisions to free up valuable space and mental energy.
- Keep: Items you use regularly, genuinely love, or are essential.
- Donate: Items in good condition that someone else could use.
- Sell: Items of value that you have the time and energy to list.
- Recycle: Items that can be processed for reuse (paper, certain plastics, electronics).
- Trash: Items that are broken, unusable, or not suitable for donation/recycling.
Step 3: Assign a Home for Everything
The 'Assign' phase is crucial for preventing future clutter. Every single item you decide to 'Keep' needs a designated spot. If an item doesn't have a home, it will inevitably end up out of place, contributing to a messy environment. Think logically about where items are most frequently used and store them nearby. For example, keep reading glasses and a book by your favorite reading chair, not in a kitchen drawer.
Utilize organizers, containers, and labels to create clear boundaries for where things belong. Group similar items together within their designated homes. For instance, all your writing tools should be in one drawer or container, not scattered. This step also involves evaluating your storage solutions. Do you have enough drawer space? Are shelves easily accessible? Sometimes, investing in simple organizational tools can make a significant difference. The goal here is to create a system where putting things away becomes effortless because their 'home' is obvious and logical.
Logical Storage Principles
- Proximity: Store items where you use them most often.
- Grouping: Keep similar items together.
- Visibility: Make items easy to see and access (use clear containers, labels).
- Containment: Use bins, dividers, and trays to keep items within their assigned space.
- Vertical Space: Utilize shelves and wall-mounted solutions to maximize storage.
Step 4: Relocate Items to Their New Homes
With a clear understanding of what you’re keeping and where it belongs, the 'Relocate' phase is straightforward. It's time to put everything back into its assigned place. This might involve cleaning out drawers and shelves before refilling them, or simply moving items from your central sorting area to their new homes. This is also an excellent time to implement any new storage solutions you've acquired.
As you relocate items, take a moment to appreciate the space you've created. If you encounter items that don't seem to fit the new system or don't have an obvious home, revisit the 'Purge' and 'Assign' steps. Did you miss something in the decision-making process? Is the assigned home truly logical? This step is about executing the plan you’ve made. Ensure that any items designated for donation or sale are immediately removed from your living space to avoid second-guessing or the temptation to pull them back in.
- Take each 'Keep' item and place it in its assigned spot.
- Clean and organize the storage area (drawer, shelf, bin) before putting items back.
- Use organizers and labels as you go to reinforce the system.
- If an item doesn't seem to fit, re-evaluate its 'home' or its necessity.
- Box up donations and items for sale and remove them from the room/house promptly.
Step 5: Keep Your Space Maintained
The final step, 'Keep', is about establishing habits to maintain the decluttered state. Decluttering isn't a one-and-done task; it requires ongoing effort. Implement a daily routine of putting things back in their assigned homes. Spend 10-15 minutes each evening tidying up. This prevents clutter from accumulating again and makes future deep-decluttering sessions much less frequent and less arduous.
Regularly reassess your belongings. As your needs and lifestyle change, so too will the items you need. Schedule periodic mini-decluttering sessions, perhaps once a month or seasonally, to review specific areas or categories. A good rule of thumb is the 'one in, one out' policy for certain items, like clothing or books: when you bring something new in, let something similar go. This proactive approach ensures your living space remains a haven of calm and order.
Daily & Weekly Maintenance Habits
- Daily Tidy: Spend 10-15 minutes each day putting items back in their homes.
- One In, One Out: For specific categories, discard an old item when a new one arrives.
- Weekly Review: Quickly scan high-traffic areas for stray items and put them away.
- Seasonal Declutter: Dedicate a few hours each season to review a specific zone or category.
- Mindful Consumption: Before buying new items, ask if you truly need them and where they will live.
Decluttering Specific Zones: The Kitchen
The kitchen is often a hub of clutter due to its high usage and variety of items. Applying the SPARK framework here requires focus. Start with a specific area like a single drawer (e.g., the junk drawer), a cabinet, or the pantry. For the 'Purge' step, pay close attention to expired food items, duplicate utensils, gadgets you rarely use, and chipped or cracked dishes.
In the 'Assign' and 'Relocate' steps, think about functionality. Keep cooking utensils near the stove, baking supplies together, and everyday dishes easily accessible. Use drawer dividers for utensils and cutlery. Consider clear, stackable containers for pantry items to maximize visibility and space. For those rarely used small appliances, perhaps store them on a higher shelf or in a less accessible cabinet, and ensure they are truly necessary before keeping them. The goal is a kitchen that supports efficient meal preparation and enjoyable dining.
Kitchen Decluttering Checklist
- Check all expiration dates in the pantry and refrigerator.
- Discard chipped, stained, or mismatched dishware and cutlery.
- Identify and purge duplicate kitchen gadgets (e.g., multiple peelers, whisks).
- Evaluate small appliances – do you use them regularly?
- Organize drawers with dividers; group similar items.
- Use clear bins for pantry staples to see contents easily.
Tackling Paper Clutter: A Common Challenge
Paper clutter is notoriously persistent. Mail, bills, important documents, kids' artwork, magazines – it all piles up. For the 'Sort' phase, gather all paper items from desks, counters, mail piles, and anywhere else they’ve landed. Then, in the 'Purge' step, be decisive. Shred documents with personal information that are no longer needed. Recycle junk mail and old magazines immediately. For important documents like birth certificates, financial records, and legal papers, determine what needs to be kept physically and what can be digitized.
The 'Assign' phase for paper is critical. Set up a filing system – either physical or digital – for important documents. Create an inbox for incoming mail and a system for processing it regularly (e.g., daily or every other day). Deal with mail as soon as it comes in: toss junk, file important papers, and act on bills or forms. Consider digitizing where possible to reduce physical volume. This system prevents the endless accumulation of paper.
- Gather all loose paper items into one location.
- Sort into categories: Action Required, File, To Shred, To Recycle, Junk Mail.
- Immediately shred and recycle unwanted paper.
- Create a filing system for essential documents.
- Process your 'Action Required' and 'To File' piles regularly.
- Consider scanning and digitizing documents where practical.
The Role of Sentimental Items
Sentimental items often present the biggest hurdle in decluttering. These are objects imbued with emotional value – gifts, heirlooms, memorabilia. The 'Purge' step for these items requires a different approach. Instead of asking 'Do I use this?', ask 'Does keeping this honor the memory or feeling associated with it?' Sometimes, letting go of the physical object and holding onto the memory is the healthiest choice. However, if an item truly brings you joy and connects you to a cherished past, it may be worth keeping.
Be selective. You don't need to keep every single ticket stub or childhood drawing. Choose a few representative items from a collection or period. Consider displaying cherished items rather than storing them away, so you can enjoy them. For items that are too numerous to display, photograph them and then consider donating or discarding the physical object. The goal is to honor memories without letting them burden your present living space.
- Acknowledge the emotional connection.
- Ask if the item truly represents the memory positively.
- Be selective – keep only the most meaningful items.
- Consider photographing items and then letting them go.
- Display cherished items instead of storing them out of sight.
Digital Decluttering: Extending SPARK Online
Just as physical clutter can weigh us down, so can digital clutter. Files scattered across your computer, an overflowing inbox, and unorganized cloud storage can be just as stressful. The SPARK framework can be adapted for your digital life. Sort your files into broad categories (e.g., Work, Personal, Photos, Projects). Purge by deleting duplicates, old drafts, unused apps, and unnecessary downloads. Assign folders and file structures to organize what remains. Relocate files to their designated folders. Keep your digital space tidy with regular backups and clean-up routines.
Start with one area, like your desktop or downloads folder. Create a clear folder structure that makes sense to you. Regularly empty your trash and recycle bin. Unsubscribe from unwanted email newsletters to reduce inbox clutter. Use cloud storage services effectively for backup and accessibility, but ensure you also maintain an organized system within them. A tidy digital space frees up mental bandwidth and improves productivity.
Digital Decluttering Tasks
- Organize desktop files into main folders.
- Empty downloads folder regularly.
- Delete duplicate or unnecessary files.
- Unsubscribe from unwanted email lists.
- Backup important data to an external drive or cloud service.
- Uninstall unused applications.
Common Decluttering Mistakes to Avoid
Even with a framework like SPARK, common pitfalls can derail your efforts. One of the biggest mistakes is trying to do too much at once. Decluttering an entire house in a weekend is a recipe for burnout. Another mistake is not making definitive decisions during the 'Purge' phase, leading to items being put back or moved to 'maybe' piles that never get revisited. Holding onto items out of guilt or 'just in case' scenarios without a clear plan also perpetuates clutter.
Failing to assign a logical home for items is another frequent error; if you don't know where something belongs, it won't get put away. Lastly, neglecting the 'Keep' phase – not establishing maintenance habits – means all your hard work will eventually be undone. Being mindful of these common mistakes can help you stay on track and achieve lasting results.
- Attempting to declutter too much too quickly.
- Indecision during the 'Purge' phase (creating 'maybe' piles).
- Keeping items out of guilt or vague future possibilities.
- Not assigning a specific home for every item kept.
- Failing to implement regular maintenance habits.
- Not removing donation/sale items promptly from the home.
Tools and Supplies for Decluttering Success
While decluttering is primarily about decision-making, having the right supplies can streamline the process significantly. Gather these items before you begin your first session:
| Supply | Purpose | SPARK Phase | Notes |
|---|---|---|---|
| Sturdy Boxes or Bins | For sorting items into 'Keep', 'Donate', 'Sell', 'Trash'. | Purge | Label clearly; use different colors if helpful. |
| Trash Bags | For items destined for disposal. | Purge | Heavy-duty bags recommended. |
| Cleaning Supplies | Wipe down shelves, drawers, and surfaces as you clear them. | Assign / Relocate | Essential for a truly refreshed space. |
| Labels and Marker | To clearly mark bins, shelves, and designated homes. | Assign / Relocate | Helps everyone in the household know where things belong. |
| Donate/Sell Bags/Boxes | To consolidate items ready to leave the house. | Relocate | Keep these by the door or in your car trunk. |
| Measuring Tape | To ensure new organizers or furniture will fit designated spaces. | Assign | Avoids purchasing ill-fitting storage solutions. |
A 7-Day Decluttering Action Plan
To make decluttering less intimidating, try this structured 7-day plan. Focus on one small area or category each day. Remember to use the SPARK framework for each daily task.
- Day 1: The Entryway & Mail Pile
- Sort: Gather everything from your entryway table, coat rack, shoe piles, and the current mail stack.
- Purge: Toss junk mail, old flyers, unnecessary items. Decide on keeps/donations for shoes/coats.
- Assign: Designate spots for keys, mail (inbox/action), outgoing items, and current outerwear.
- Relocate: Put items in their new homes; take donations/trash out immediately.
- Keep: Establish a habit of clearing the entryway daily.
- Day 2: One Kitchen Drawer or Cabinet
- Sort: Empty one drawer (e.g., utensil, junk) or cabinet (e.g., mugs, spices).
- Purge: Discard expired items, broken tools, duplicates.
- Assign: Group similar items logically; ensure items are easily accessible.
- Relocate: Put everything back neatly. Clean the drawer/cabinet.
- Keep: Put items away after use.
- Day 3: Your Nightstand & Bedside Area
- Sort: Clear off your nightstand and any surrounding drawers/shelves.
- Purge: Get rid of old books you won't reread, empty lotion bottles, old tissues, random clutter.
- Assign: Keep only essentials and items that promote relaxation or are used nightly.
- Relocate: Arrange items neatly; clean surfaces.
- Keep: Resist placing non-essential items here.
- Day 4: Bathroom Counter & Medicine Cabinet
- Sort: Empty your counter, drawers, and medicine cabinet.
- Purge: Check expiration dates on medications and toiletries; discard old makeup, nearly empty bottles.
- Assign: Group similar items (e.g., skincare, oral care). Ensure easy access to daily items.
- Relocate: Clean surfaces and organize items within their designated spaces.
- Keep: Put items away immediately after use.
- Day 5: A Small Clothing Section (e.g., Sock Drawer, T-shirt Shelf)
- Sort: Empty the chosen section of your closet or dresser.
- Purge: Discard worn-out items, socks without mates, clothes that don't fit or haven't been worn in a year.
- Assign: Fold or hang items neatly; ensure the section isn't overstuffed.
- Relocate: Put items back in an organized manner.
- Keep: Practice the 'one in, one out' rule for this category.
- Day 6: Your Desk or Work Surface
- Sort: Clear your primary workspace. Gather all pens, papers, supplies.
- Purge: Shred old documents, toss dried-out pens, discard unnecessary items.
- Assign: Set up a simple filing system for important papers; designate spots for supplies.
- Relocate: Organize everything efficiently. Clean the surface.
- Keep: Make tidying your desk a daily habit.
- Day 7: Digital - Your Desktop & Downloads Folder
- Sort: Gather all files from your desktop and downloads folder.
- Purge: Delete duplicates, old temporary files, installers you no longer need.
- Assign: Create logical folders (e.g., 'To File', 'Projects', 'Photos').
- Relocate: Move files into their new, organized folders. Empty the recycle bin.
- Keep: Aim to keep your desktop clear and process downloads regularly.