High Dynamic Range (HDR) has transformed the way we consume home entertainment. By expanding the range of light and color, and significantly boosting the contrast ratio, HDR brings cinematic realism directly to your living room. However, simply owning an HDR-capable display isn’t enough; you must optimize your settings to truly unlock that “reference-quality” image. This guide outlines the best practices for using HDR settings for home theater displays.
In 2026, the landscape of display technology—from QD-OLED to advanced Mini-LED panels (which often utilize sophisticated local dimming or FALD for superior contrast)—demands a more surgical approach to configuration. Whether you are a casual viewer or a dedicated cinephile, mastering your HDR settings is the key to achieving the director’s intent, and understanding the best practices for using HDR settings for home theater displays is paramount.
Understanding the HDR Ecosystem
Before diving into the menus, it is essential to understand what HDR actually does for your viewing experience, especially when considering best practices for using HDR settings for home theater displays. HDR improves the contrast ratio and dynamic range of your image, meaning it allows for deeper blacks and brighter highlights simultaneously, often measured in nits (candelas per square meter) for peak brightness.
HDR is not just about raw brightness; it is about Rec. 2020 wide color gamut, color volume and gradation. When properly configured, your display should reveal intricate details in the shadows while maintaining peak luminance in bright scenes without ” clipping” or losing detail, thanks to effective tone mapping.
Choosing the Right Picture Mode
Most modern home theater displays come with a variety of presets. While “Vivid” or “Dynamic” modes might catch your eye in a brightly lit store, they are the enemies of accuracy in a controlled home environment, and certainly not aligned with best practices for using HDR settings for home theater displays.
Filmmaker Mode / Cinema Mode: These are your best friends. They are engineered to disable unnecessary post-processing, motion smoothing, and artificial sharpening, effectively bypassing aggressive elements of the display’s picture processing engine, providing a closer-to-source image.
Avoid Dynamic Presets: These modes often crush shadow detail and push colors into unnatural territory.
Disable Eco-Settings: Many displays have power-saving features that automatically dim the screen. For the best HDR impact, ensure these are turned off, as they severely throttle the peak brightness (nits) needed for HDR highlights.
Navigating Advanced HDR Formats: Dolby Vision vs. HDR10+
In 2026, the battle for dominance between HDR10, Dolby Vision and HDR10+ continues. While HDR10 serves as the foundational static metadata format, both Dolby Vision and HDR10+ are dynamic metadata formats, meaning they adjust brightness and color frame-by-frame or scene-by-scene.
Dolby Vision: Widely considered the gold standard for high-end home cinema. If your display supports it, keep it in “Dolby Vision Dark” or “Dolby Vision IQ” (which adjusts based on your room’s ambient light).
HDR10+: An open-source alternative that offers similar benefits. Ensure your source device (Blu-ray player or streaming box) is set to “Auto” to detect these formats correctly.
The Importance of HDR Calibration
Calibration is the difference between a “good” picture and a “transformative” one. It’s a cornerstone of best practices for using HDR settings for home theater displays. Using tools like HCFR or professional-grade calibration software allows you to tune your Color Management System (CMS) for optimal accuracy.
By adjusting the white balance and gamma curves, you ensure that the colors you see on screen match the industry standards used by professional colorists, particularly for the Rec. 2020 wide color gamut. Even if you aren’t an expert, using a simple calibration disc or built-in console calibration tools can help you set your black levels and peak white clipping points correctly, optimizing the display’s tone mapping.
Optimizing for Gaming and PC Integration
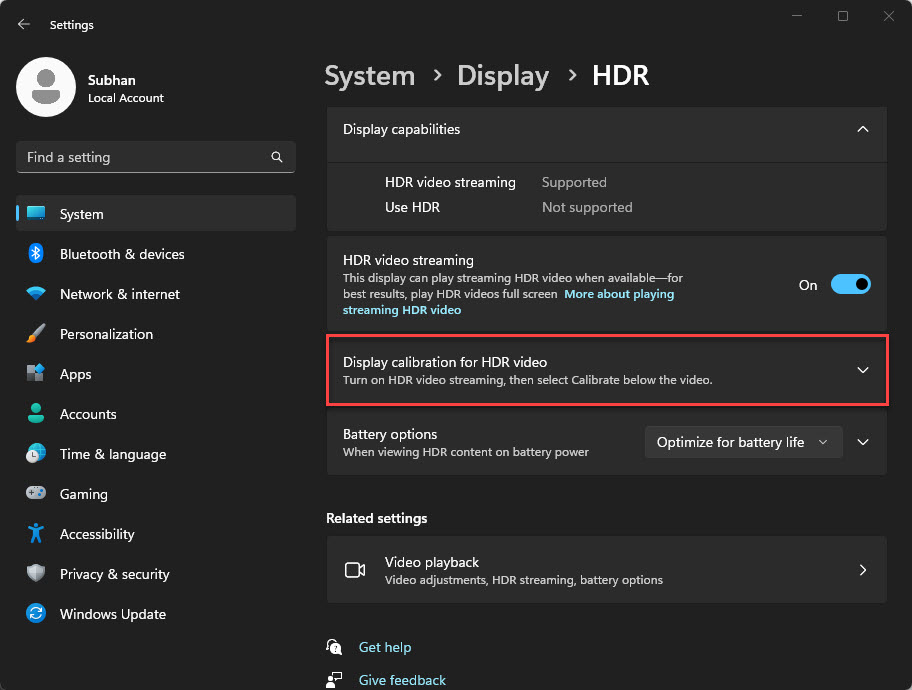
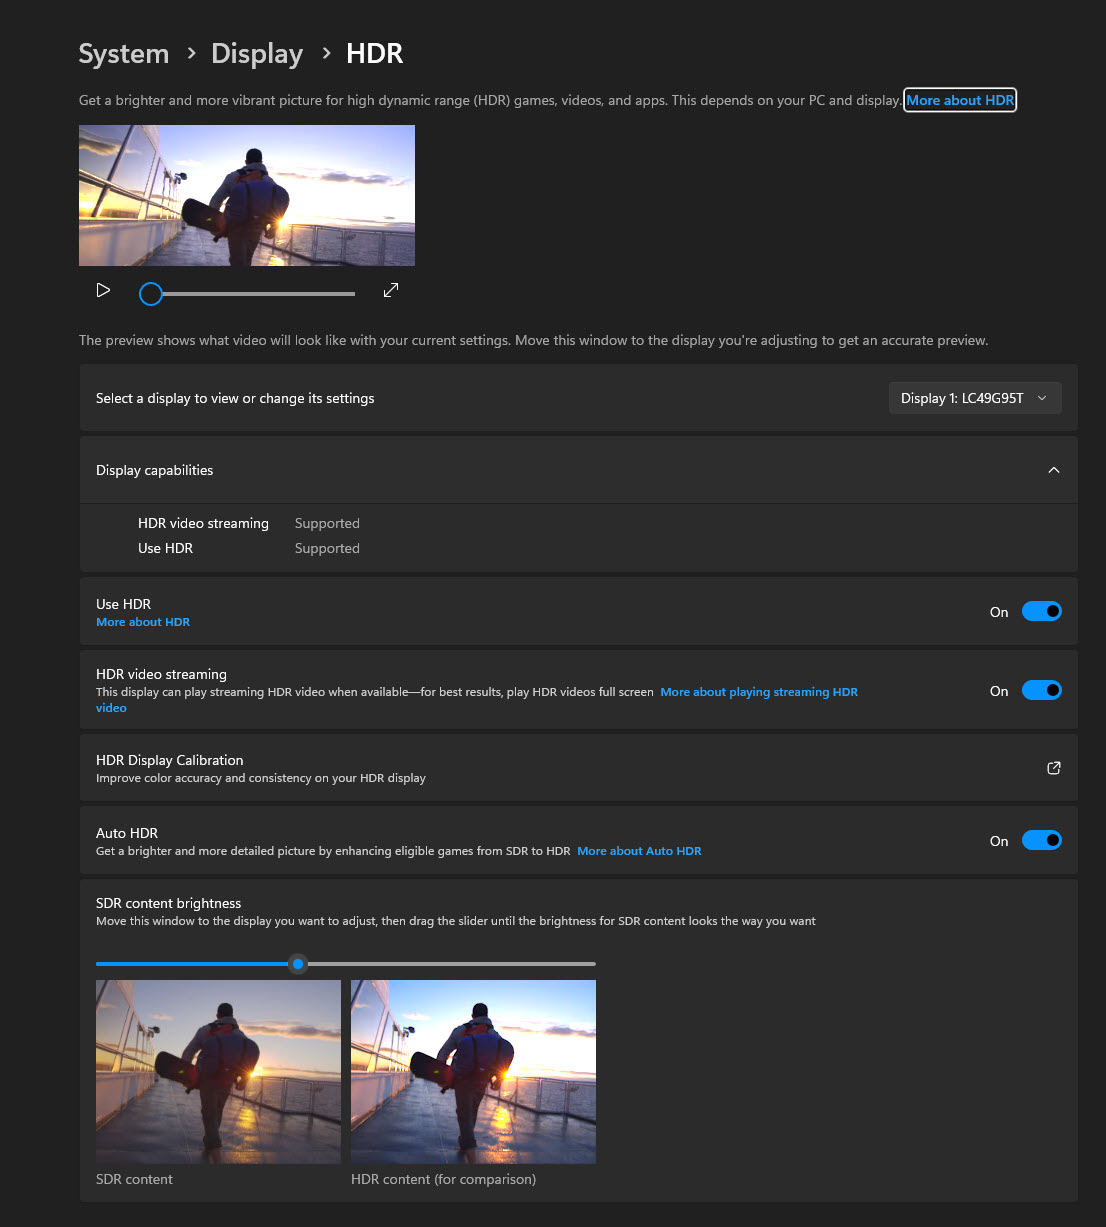
For those using a PC or console as their primary media hub, the settings become even more critical, especially concerning input lag for responsive gameplay. Windows 11 and modern consoles have dedicated HDR calibration apps that map the display’s capabilities to the software.
Calibration Apps: Always run the manufacturer-provided HDR calibration tool to define the “min” and “max” luminance of your specific screen, often expressed in nits.
- Refresh Rate: Ensure your HDMI cable (Ultra High-Speed HDMI 2.1) is capable of handling 4K at 120Hz with HDR enabled to avoid signal bottlenecks.
Common Pitfalls to Avoid
- Over-sharpening: This introduces “halos” around objects. Keep sharpness settings at zero or low.
- Forcing HDR: Never force HDR on non-HDR content (SDR). Modern displays handle SDR-to-HDR conversion poorly, often resulting in washed-out colors and bypassing proper tone mapping.
- Ignoring Ambient Light: If you are watching in a bright room, you may need a slightly higher gamma setting, but try to control your light sources instead of fighting them with display settings.
Conclusion: Achieving Visual Perfection
Optimizing your home theater display for HDR is an ongoing process of refinement. By prioritizing Rec. 2020 color accuracy, utilizing dynamic metadata, and calibrating your display to its specific physical limits (including its peak nits output), you unlock the true potential of your hardware, adhering to the best practices for using HDR settings for home theater displays.
Remember, the goal of HDR is not to make the picture look “different,” but to make it look real. By following these 2026 best practices for using HDR settings for home theater displays, you ensure that every movie night is a premium, theater-like experience that respects the artistic intent of your favorite films.