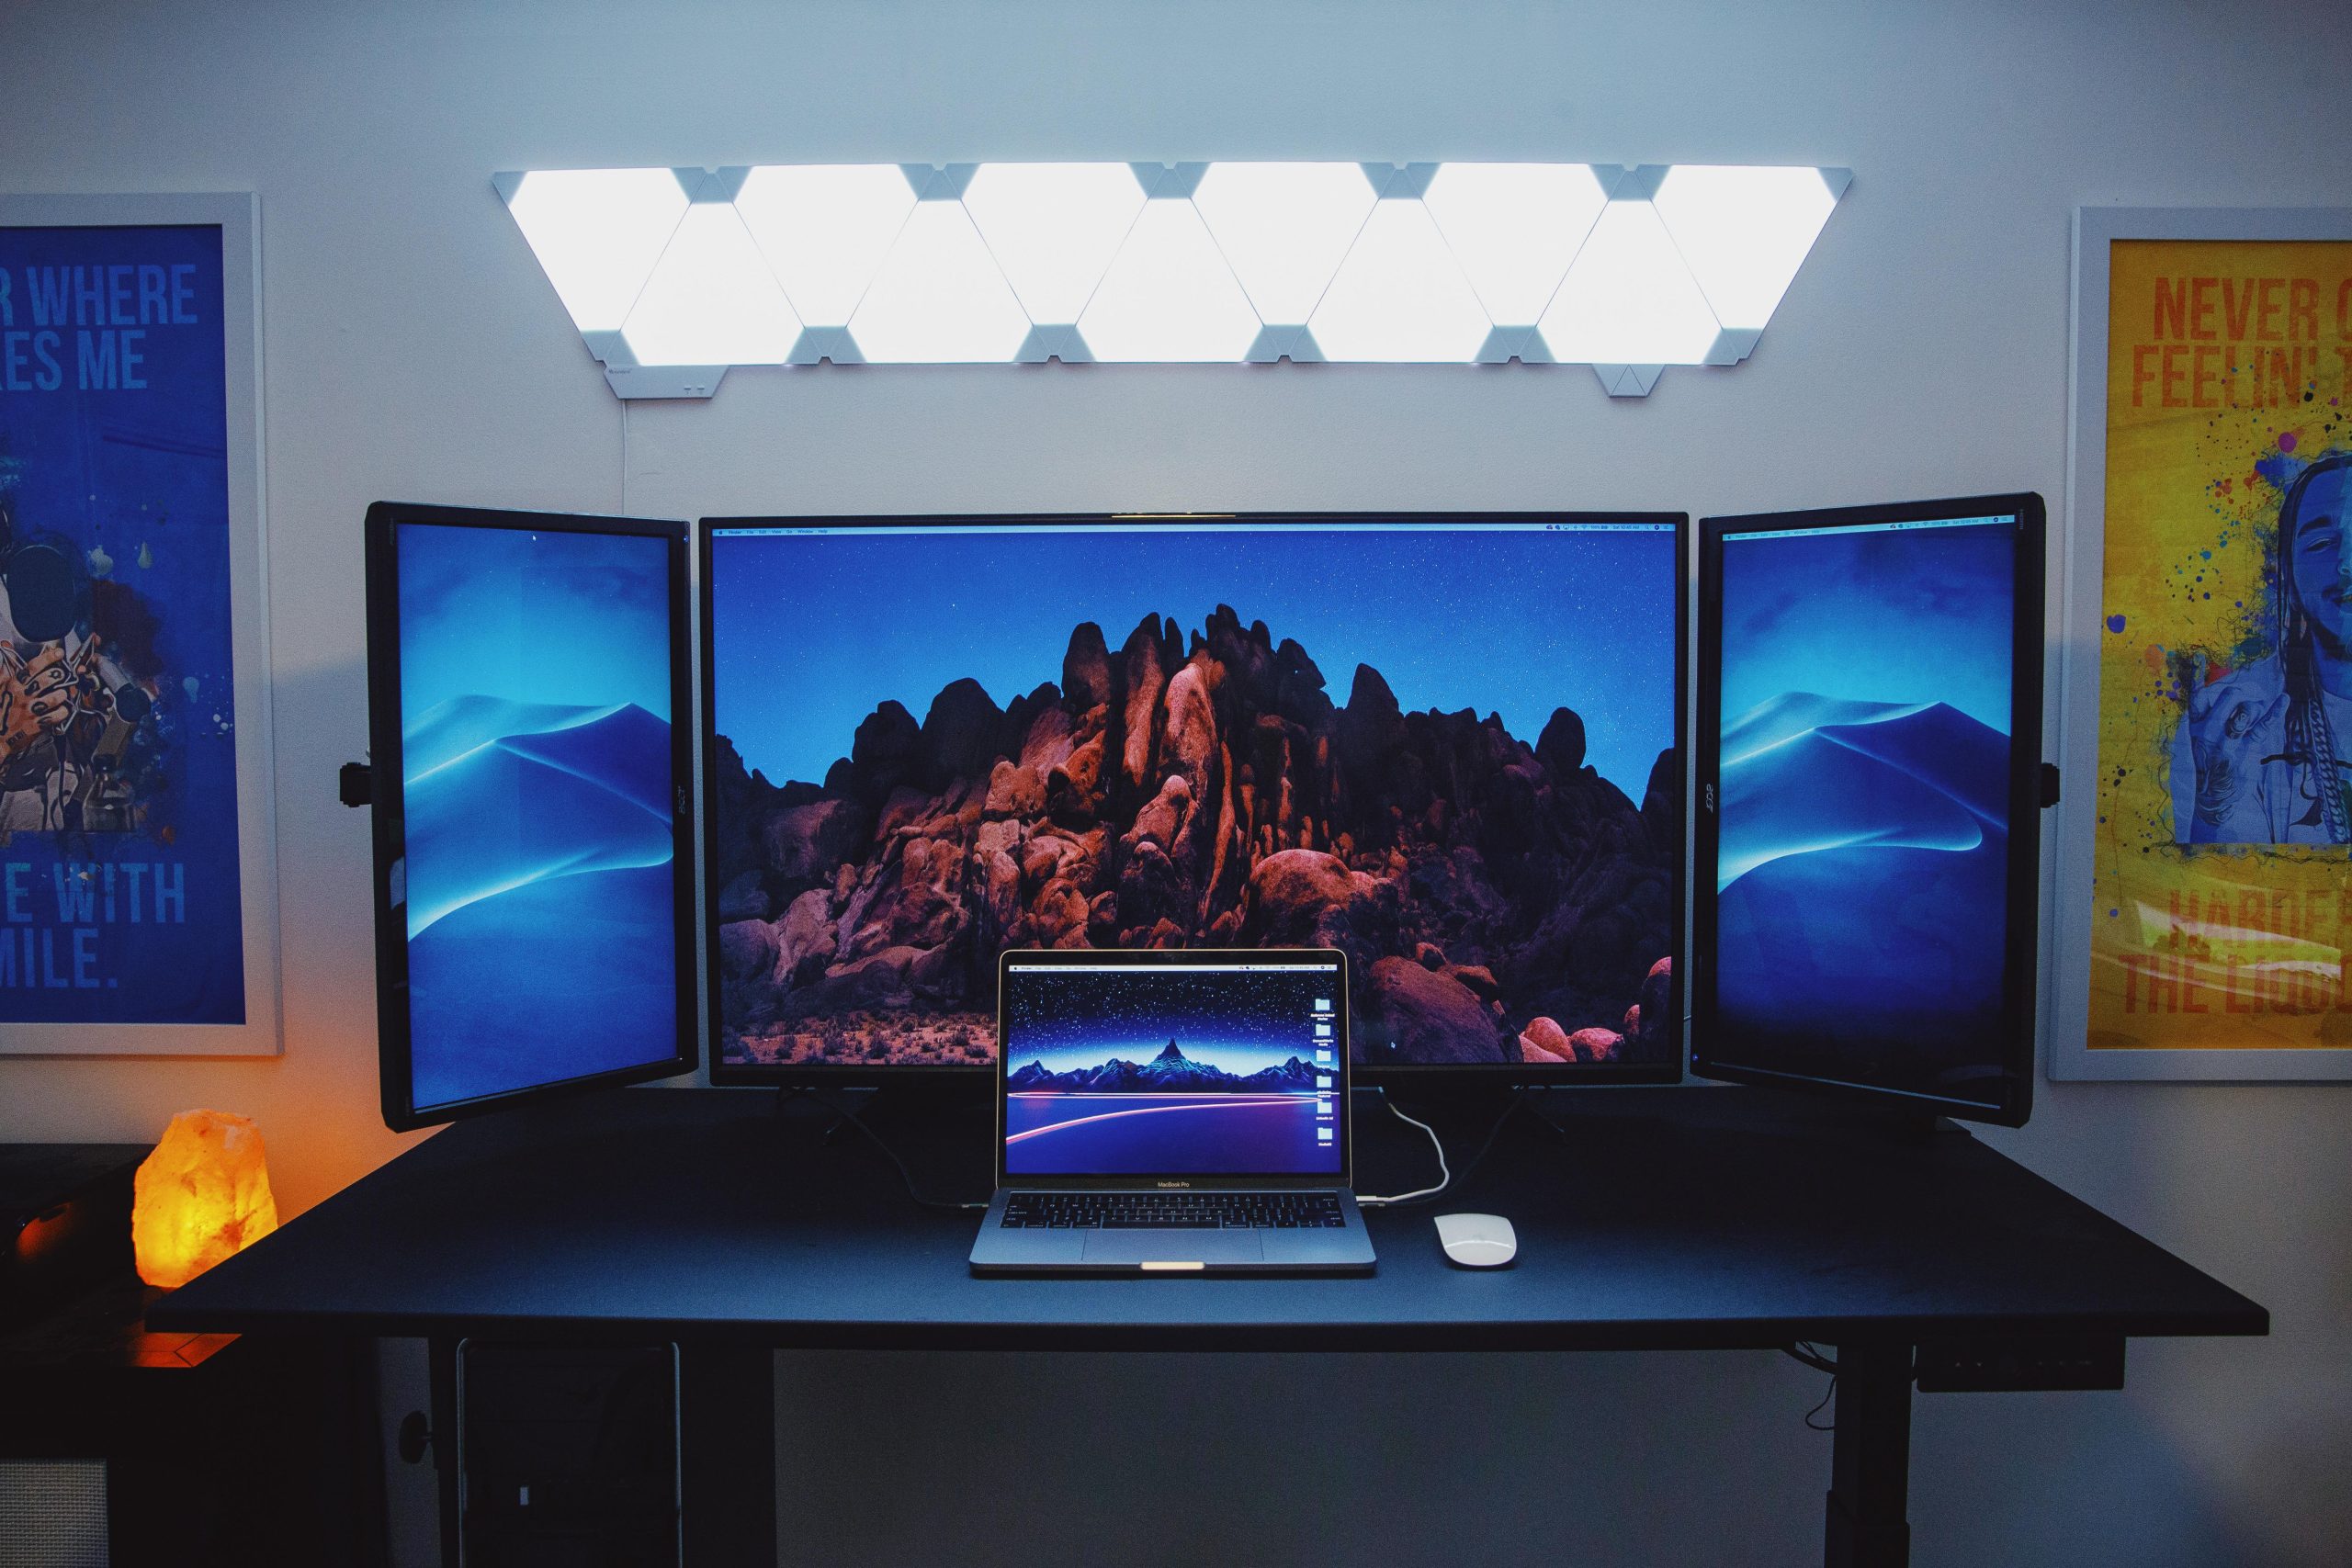
In 2026, the modern digital workspace is no longer just a desk and a laptop; it is a command center. For professionals managing home service dashboards—such as HVAC dispatching, plumbing logistics, or residential project management—the sheer volume of vertical data, crucial for effective data visualization, can be overwhelming. If you are scrolling through endless columns of service tickets, customer records, or real-time scheduling grids for efficient task management, you are losing valuable time. This guide will show you how to set up a vertical monitor for home service dashboards to combat this inefficiency.
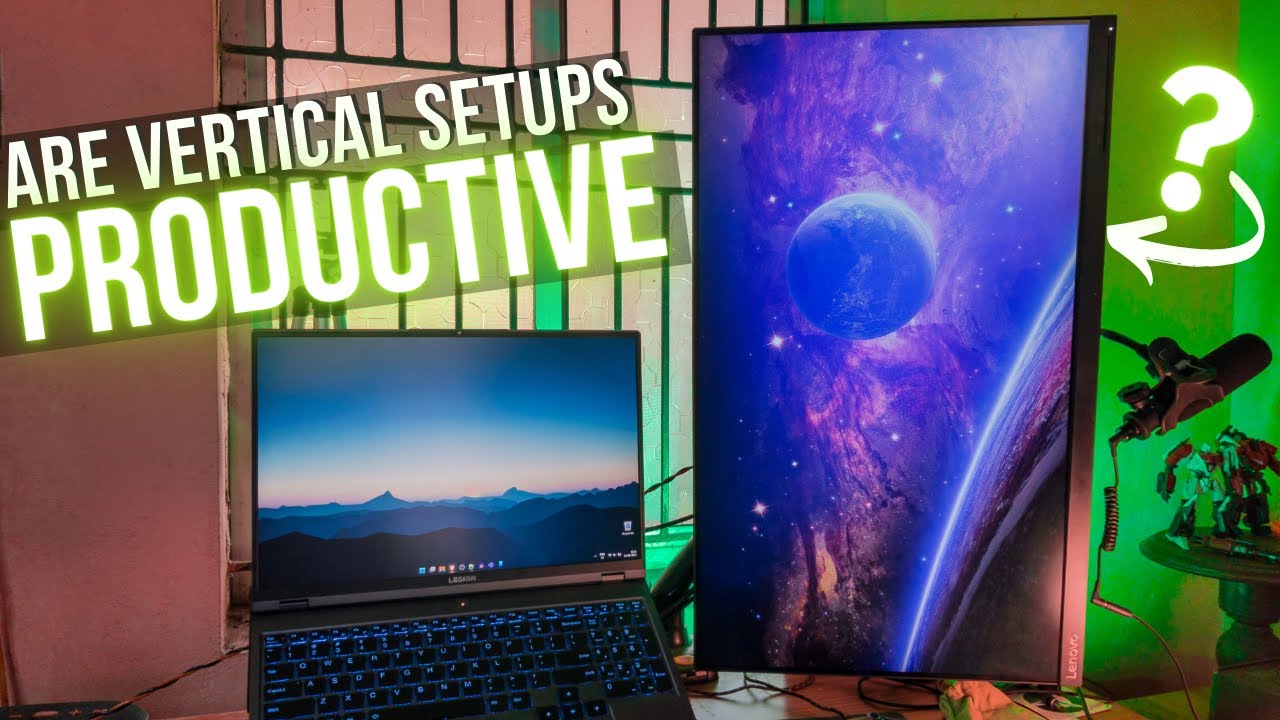
The solution? A vertical monitor setup. By rotating your screen, you gain a “scrolling-friendly” view that aligns perfectly with long, data-heavy dashboards. This guide will walk you through everything you need to know about how to set up a vertical monitor for home service dashboards to optimize your workspace for maximum workflow optimization and productivity gains this year.
Why a Vertical Monitor is a Game-Changer for Service Dashboards
Most home service software platforms, like ServiceTitan, Jobber, or Housecall Pro, are built with long, vertical interfaces. When you use a standard landscape monitor, you often end up with wasted “dead space” on the sides of your screen, limiting your available screen real estate. Understanding how to set up a vertical monitor for home service dashboards directly addresses this challenge, transforming your workflow.
When you mount a monitor vertically, you eliminate the need to scroll horizontally or constantly move your mouse to track long lists. Studies show that vertical orientation improves focus when dealing with text-heavy tasks. Whether you are managing technician locations on a map or reviewing a day’s worth of service appointments, facilitating better real-time data monitoring, a portrait-mode display allows you to see more records at a glance.
Step 1: Choosing the Right Hardware for Your Setup
Before you start, you need to ensure your hardware is “pivot-ready.” Not every monitor can be rotated out of the box. This is a crucial first step in how to set up a vertical monitor for home service dashboards effectively.
Check the VESA Mount: Most high-quality monitors come with a VESA mount pattern on the back. If your current stand doesn’t rotate, a universal monitor arm is your best friend.
Cable Management: When you rotate a monitor, the cables can become strained. Ensure your HDMI or DisplayPort cables have enough slack, or use a right-angle adapter to prevent damage to the ports.
Panel Type: For dashboards, consider an IPS panel. These offer superior viewing angles, which is critical since you will be looking at the screen from a different perspective, making it a truly customizable display.
Step 2: Physical Installation and Mounting
Once you have your hardware, it is time to mount. If you are integrating this into a multi-monitor setup using a desk-mounted monitor arm, follow these steps for how to set up a vertical monitor for home service dashboards physically:
- Clear your workspace: Remove clutter so you have room to maneuver the arm, aiming for an ergonomic workstation layout.
- Attach the arm: Clamp the mount securely to the back of your desk. Ensure the arm is tightened to support the weight of your specific display size.
- Mount the monitor: Carefully attach the monitor to the VESA plate.
- Rotate: Gently turn the monitor 90 degrees. Ensure the cables are positioned so they don’t pull against the desk surface when the monitor is fully vertical.
Step 3: Configuring Your Display Settings (The Software Side)
Simply turning the monitor physically isn’t enough. Your computer needs to know it is now in portrait mode.
For Windows 11 Users (2026 Standard)
- Right-click on your desktop and select Display settings.
- Select the monitor you just rotated from the visual map.
- Scroll down to the Display orientation dropdown menu.
- Select Portrait. Your screen will flicker and adjust automatically.
For macOS Users
- Open System Settings and go to Displays.
- Select your secondary monitor.
- Use the Rotation dropdown to choose 90 degrees.
Pro-Tips for Optimizing Service Dashboards
Once your monitor is set up, don’t just leave it as is. Customize your workspace to save hours every week, enhancing the benefits of how to set up a vertical monitor for home service dashboards:
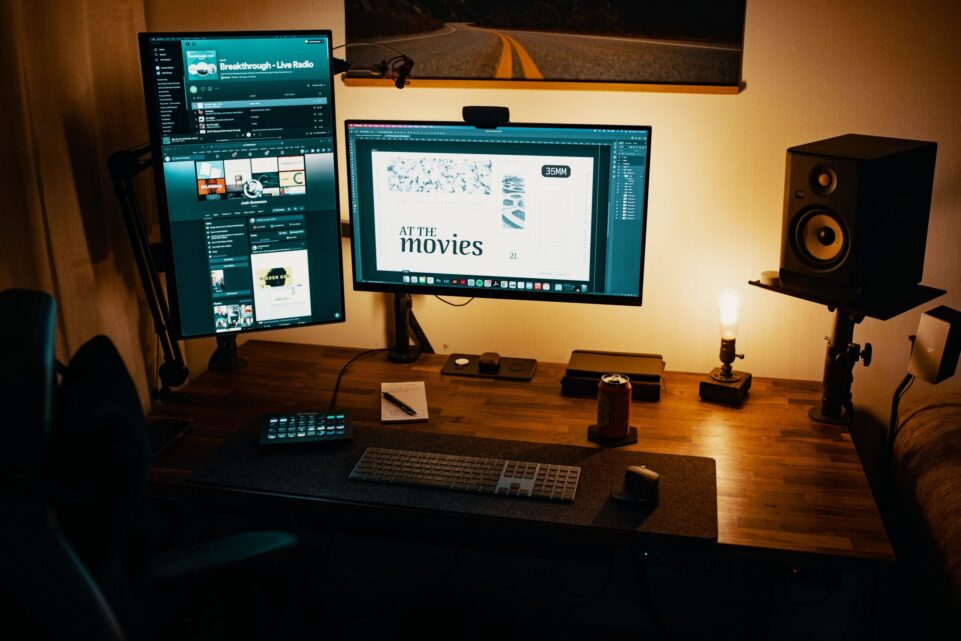
Snap Layouts: Use Windows 11’s “Snap Layouts” to stack your dashboard on top of your email or communication apps like Slack or Microsoft Teams.
Browser Zoom: Sometimes, websites look tiny on a vertical screen. Use `Ctrl` + `+` (or `Cmd` + `+` on Mac) to adjust the zoom level so the text is perfectly readable without squinting.
Ergonomics: Ensure the top of the monitor is at eye level. Even though it is vertical, you shouldn’t have to crane your neck to see the top of your dashboard.
Conclusion: Elevate Your Home Service Workflow
Setting up a vertical monitor is one of the most effective ways to achieve significant productivity gains for 2026. By aligning your hardware with the data-heavy nature of home service dashboards, you reduce cognitive load and speed up your daily operations, contributing to overall workflow optimization. Whether you are managing complex schedules or monitoring real-time service requests, this setup will provide the clarity and efficiency you need to stay ahead of the competition in your professional workspace. Mastering how to set up a vertical monitor for home service dashboards is a key step towards this efficiency.
Take the time to calibrate your display settings and adjust your monitor arm for perfect ergonomics. Your eyes—and your business—will thank you.